How to Reduce Energy Use with Smart Window Shades
Choose insulating shades, schedule them for sun and season, and assess whether motorization adds value beyond manual window coverings.
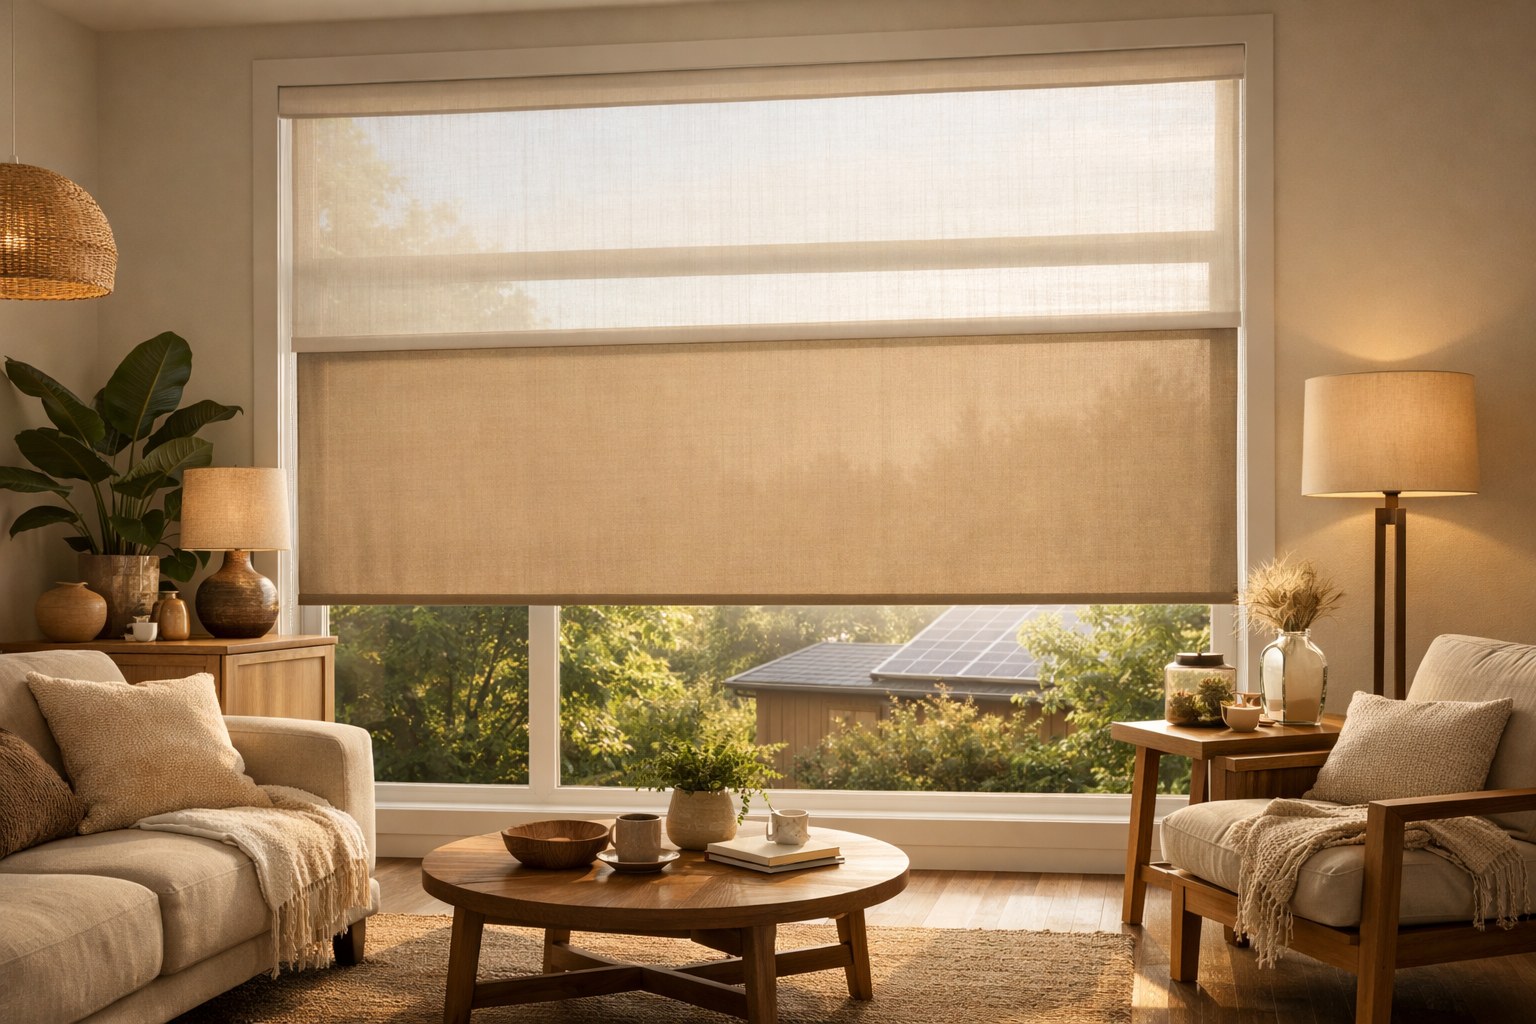
Featured Options Compared in This Guide
Full specs & notes ↓To reduce energy use with smart shades, choose the covering for its thermal performance, then automate when it opens and closes. Block unwanted sunshine during cooling season. In winter, admit useful solar warmth and close insulating coverings at night. PNNL explains that automation can manage these changes even when nobody is home.
The useful comparison is not simply “smart versus ordinary.” It is the right covering, operated consistently, versus a covering that stays in the wrong position. Treat the shade’s insulation, solar control, and control system as separate buying decisions.
Choose for the problem at the window
PNNL’s window-attachment guide distinguishes coverings that preserve a view from those that admit diffuse daylight. That distinction matters when choosing a shade you will keep lowered while using a room.
| Main problem | Covering to compare | Practical tradeoff |
|---|---|---|
| Winter heat loss through the window | Multilayer cellular or honeycomb shade | Adds interior insulation, but blocks the view when lowered and can increase condensation risk at the glass |
| Strong afternoon solar heat | Exterior roller solar screen or other vertical exterior shading | Intercepts sunlight before it reaches the glass; an awning alone may miss low or side-angle sun |
| Glare while preserving some view | Interior or exterior solar screen | Preserves a view, but may provide less shading than a solid covering; screens also reduce airflow through an open window |
| Harsh sunlight where a view is not essential | Light-filtering interior roller shade | Can admit diffuse daylight, but blocks the view while providing shade |
| Bedroom darkness | Blackout cellular or roller shade | Compare light blocking and thermal performance separately; blackout is not an energy-performance rating |
For a winter-focused purchase, prioritize the AERC Cool Climate rating. For cooling needs, prioritize its Warm Climate rating. Consider both where heating and cooling matter. AERC also explains that visual transmittance describes how much daylight passes through—not whether you can see clearly outside—and that labels for automated attachments show an additional automation rating. Source: AERC’s residential label guide.
Ask for the label covering the attachment and configuration you plan to order, rather than relying on a brand-wide “energy saving” description.
Build a schedule by direction and season
Start with windows that overheat or chill occupied rooms. Try operating the existing coverings manually before deciding where automation would help most.
During cooling season: lower east-facing shades before morning sun enters and west-facing shades before afternoon sun enters. For south-facing windows, account for existing overhangs and trees rather than giving every window the same schedule. Preserve comfortable indirect daylight where possible instead of darkening the whole home and switching on lights.
During heating season: open coverings on windows receiving direct sunshine when the room needs heat. Close insulating shades after the sun leaves, overnight, and on cloudy days. If a sunny room is already too warm, prioritize comfort rather than admitting more heat just because it is winter.
During mild weather: adjust for glare, daylight, and privacy. When neither heating nor cooling is running, do not count a comfort improvement as demonstrated HVAC energy savings.
These schedules apply PNNL’s seasonal operating guidance. A fixed timer is a starting point, not a year-round solution: revisit it as sunlight and heating needs change.
An overhang can also change how far a shade needs to move. PNNL describes using a shade that closes upward from the sill to cover the sunlit lower portion of a window while leaving the already-shaded upper portion open for daylight and a view. This is worth considering before defaulting to full closure every afternoon.
Match the controls to the schedule
Separate three questions: can the shade move by remote, can it follow a schedule, and can it respond automatically to changing conditions? Ask which capabilities are included in the proposed system rather than treating “motorized” as a complete specification.
Lutron Serena Smart Honeycomb Shades illustrate the distinction. Lutron lists standard and architectural honeycomb styles, with light-filtering and room-darkening or blackout choices depending on the style. Its Smart Hub and Lutron app provide custom schedules and scenes; a separate wireless remote can control one or several shades. Source: Lutron’s honeycomb shade page.
For a quote, include the selected shade, any required hub, remote, power arrangement, mounting hardware, and installation. Treat scheduling as a control feature, not a promise of a particular reduction in your bills.
Before choosing a motorized system, ask:
- Can it run separate schedules for east- and west-facing windows?
- Which functions need a hub or internet connection, and which work with the remote alone?
- Does the selected configuration support your preferred home platform?
- What control remains available when a phone, network, or battery is unavailable?
- How are batteries, motors, and fabric assemblies serviced?
Power access deserves attention, especially at high windows. PNNL describes battery- and solar-powered automation as well as hard-wired systems. Hard-wiring avoids battery replacement and is generally better suited to powering larger, heavier coverings; it is especially worth planning during construction. Source: PNNL’s automation guidance.
Measure the opening, then watch the glass
Follow the manufacturer’s installation and measurement instructions. For an inside mount, check the required recess depth, handles, cranks, and space for the raised shade. For an outside mount, check overlap and trim clearance. Confirm that the installation allows the window to operate and preserves any required emergency exit access.
In winter, inspect behind insulating interior shades. PNNL explains that a closed shade slows airflow along the pane and leaves the glass colder, allowing condensation or frost to develop. Its suggested measures are:
- Leave about ½ inch between the bottom rail and sill to allow airflow along the glass.
- Open the shades during the day so the window can dry.
- Consider improved windows or storm windows.
Include daytime opening for drying in the schedule where condensation occurs. These are mitigation measures, not a guarantee that condensation will disappear. Source: PNNL’s winter-performance guidance.
Is automation worth its extra cost?
Compare a motorized quote with a manual covering of similar thermal performance. The extra cost buys access, scheduling, and consistency—not automatically better insulation.
Automation is most compelling when it solves a specific operating problem: a high window you rarely reach, afternoon sun arriving while you are away, or several window groups needing different schedules. For an accessible window whose shade you already adjust reliably, a manual cellular shade remains a sensible alternative.
For an energy-only purchase, the relevant saving is what automation adds beyond the manual alternative, not the entire benefit of installing a covering. Without a credible estimate of that additional saving, treat energy payback as unknown and decide whether convenience and comfort justify the premium.
Keep related jobs separate: use the weatherstripping guide for air-leak repairs, and coordinate shade operation with your thermostat settings. A good shade schedule should support the room conditions you want, not work against them.
Sources
Products Compared in This Guide
How to Reduce Energy Use with Smart Window Shades — Top-Spec Options
Compare current model specifications, material disclosures, and third-party certifications for how to reduce energy use with smart window shades.
Certified How To Reduce Energy Use With Smart Window Shades Alternatives
Check verified certification scope, replacement parts, and packaging details across energy-efficient home listings.