RV Solar Panel Setup Guide (2026): What You Actually Need to Dry Camp Without Hookups
A practical guide to setting up solar on your RV—sizing your system, what components to buy, DIY vs. pre-built, and realistic expectations for what solar can and can't do in an RV.

Our Top Picks
Renogy 200W 12V Monocrystalline Solar Panel (2-Pack)
The best value in rigid RV rooftop panels. Pre-drilled for Z-brackets or tilting mounts, MC4 connectors, 25-year power output warranty. A 2-pack gives you 400W—enough to sustain a full RV build with a 100Ah LiFePO4 battery.
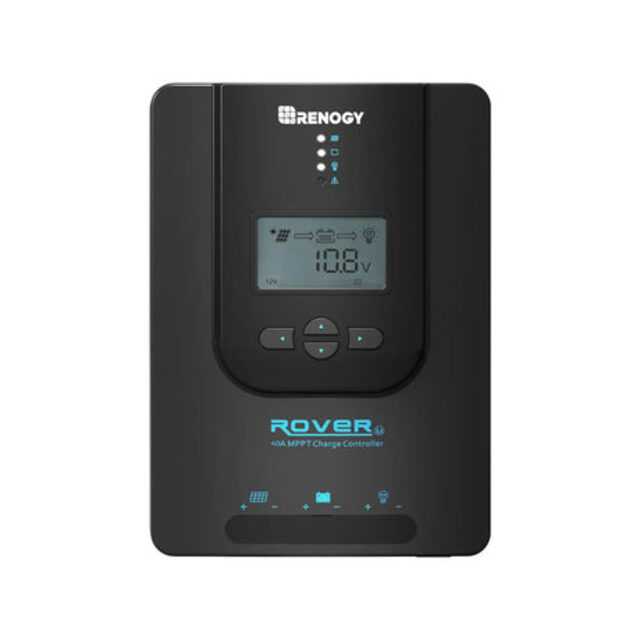
Renogy Rover 40A MPPT Solar Charge Controller
The standard MPPT controller for 12V/24V RV systems up to 400W. Bluetooth-connected via Renogy BT-1 module, displays real-time charge data. 40A handles 400–500W of panels on a 12V system. Reliable, well-supported, widely used in DIY RV builds.
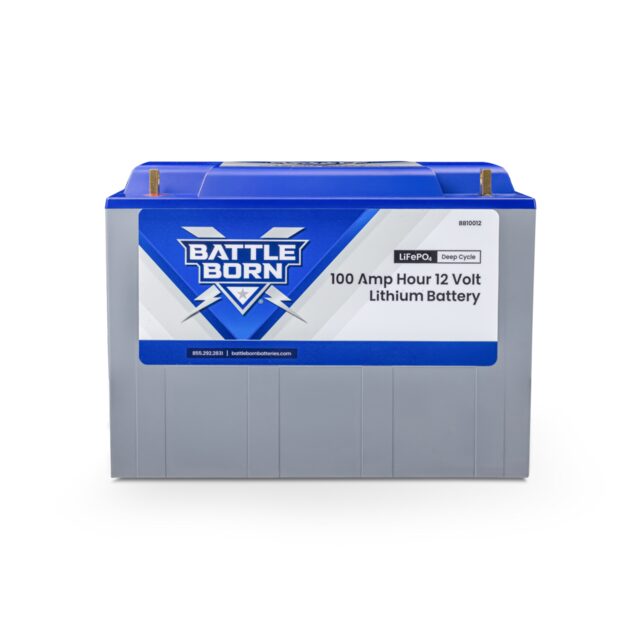
Battle Born 100Ah 12V LiFePO4 Battery
The benchmark for RV LiFePO4 batteries. 100Ah usable capacity (vs. 50Ah usable from equivalent lead-acid), 3,000–5,000 cycle rating, built-in BMS, heated for cold-weather charging down to 25°F. More expensive than off-brand LiFePO4 but the warranty and support justify it for permanent RV installs.
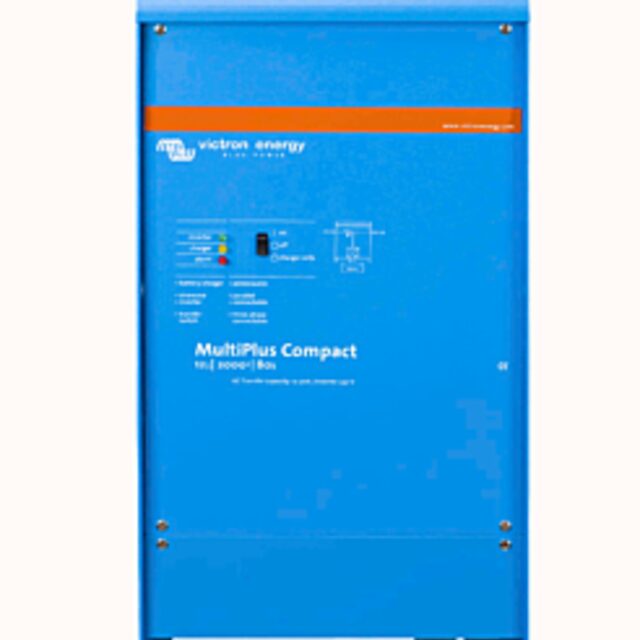
Victron MultiPlus 12/2000/80 Inverter/Charger
The gold standard for RV inverter/chargers. 2,000W pure sine wave inverter + 80A battery charger in one unit. When hooked to shore power, it charges the battery and passes through AC simultaneously. When off-grid, it inverts from battery. Victron's VE.Bus monitoring integrates with Cerbo GX for full system visibility.
Running a full week in the backcountry without plugging in, or dry camping at a national park without the generator everyone glares at—solar makes both possible in a way that wasn’t practical five years ago. The equipment has gotten good enough, and the price has dropped enough, that a properly-sized RV solar setup is now a weekend DIY project with off-the-shelf parts.
Here’s what you actually need, how to size it, and what to expect.
What RV Solar Can and Can’t Do
Can do:
- Charge your house batteries indefinitely from sunlight
- Run LED lighting, phone/laptop charging, 12V fans, 12V cooler/refrigerator
- Run a TV, small speakers, and 12V water pump
- Keep a 12V compressor fridge running 24/7
- Charge via shore power AND solar simultaneously (with the right inverter/charger)
Cannot do (without a very large system):
- Run rooftop AC on solar alone during the day (possible with 800W+ panels; impractical in most builds)
- Replace shore power entirely for heavy appliances (microwave, hair dryer, electric water heater)
- Charge batteries at night (obvious, but worth stating for planning purposes)
The mental model: solar runs your 12V loads and charges your batteries during the day. Your battery bank powers your overnight loads. Size both components to the daily cycle.
Step 1: Calculate Your Daily Watt-Hours
| Device | Watts | Hours/Day | Wh/Day |
|---|---|---|---|
| 12V compressor fridge | 45W avg | 24h | 1,080Wh |
| LED lights (6 fixtures) | 10W | 5h | 50Wh |
| Phone charging (×2) | 18W | 2h | 36Wh |
| Laptop | 65W | 4h | 260Wh |
| 12V fan | 20W | 6h | 120Wh |
| Water pump | 60W | 0.5h | 30Wh |
| Daily Total | 1,576Wh |
This is a typical full-time-use RV scenario. For weekend camping with less screen time and no 24/7 fridge: probably 600–800Wh/day.
Rule of thumb: Size your solar array to produce 120–130% of your daily consumption (accounting for cloudy days, panel angle losses, charge controller efficiency). For 1,576Wh/day, you want 1,900–2,000Wh/day of panel capacity—which means about 600–700W of panels in a full-sun location.
For the more modest 800Wh/day weekend camper: 400W of panels covers it with margin.
Step 2: Choose Your Panels
Rooftop rigid panels are the right choice for permanent RV installs. They’re more efficient per dollar than foldable panels, more durable in weather, and don’t require daily setup/teardown.
Renogy 200W 12V Monocrystalline — the standard in DIY RV builds. Pre-drilled holes for Z-brackets, 25-year warranty, excellent warranty support. At $189–$329 for a 2-pack, you get 400W of reliable production for the price of one premium foldable panel.
For 400W (typical build):
- 2× Renogy 200W panels (~$329)
- Z-bracket mounting kit (~$25/panel)
- MC4 connectors and extension cables (~$30)
For 600W (full-timer build):
- 3× Renogy 200W panels (~$450)
Placement notes: Each panel needs unobstructed sky access. Roof AC units, vents, and skylights eat into your available space. Most Class C and Class A RVs have room for 400–600W of panels. Cargo trailers and fifth wheels often fit more.
Step 3: Choose Your Charge Controller
The charge controller regulates current from the panels to the battery. MPPT (Maximum Power Point Tracking) controllers are 15–30% more efficient than PWM controllers—always use MPPT for anything over 100W.
Renogy Rover 40A MPPT ($139) — the standard recommendation for 400W systems on 12V. The 40A rating handles 400–500W input on 12V. Add the Renogy BT-1 Bluetooth module ($25) for real-time monitoring from your phone.
For larger systems or full Victron integration: Victron SmartSolar MPPT 100/30 ($169) or 100/50 ($220). Victron is the professional-grade option—better Bluetooth monitoring, integrates with Victron’s Cerbo GX display system for full system visibility.
Step 4: Choose Your Battery Bank
This is the most important decision. Your battery bank is your overnight energy reservoir—size it to handle your overnight loads without recharging.
LiFePO4 vs. AGM (lead-acid):
| Type | 100Ah Usable | Weight | Cost | Lifespan |
|---|---|---|---|---|
| Battle Born 100Ah LiFePO4 | ~95Ah | 29 lbs | $949 | 3,000–5,000 cycles |
| AGM 100Ah | ~50Ah | 63 lbs | $180–250 | 300–500 cycles |
To get 100Ah usable from AGM, you need a 200Ah AGM bank (two 100Ah batteries at $360–$500, weighing 126 lbs). The equivalent LiFePO4 is 100Ah at $949 and 29 lbs. Over 5 years with several replacements of the AGM bank, LiFePO4 is cheaper and dramatically lighter.
Battery sizing: For overnight 800Wh draw, you need ~70Ah usable at 12V (800Wh ÷ 12V ≈ 67Ah). One 100Ah LiFePO4 covers this. For the 1,576Wh full-day scenario: ~130Ah usable minimum; 200Ah LiFePO4 bank (two 100Ah batteries) provides comfortable margin.
Step 5: Choose Your Inverter/Charger
For running 120V AC devices from your battery bank and charging from shore power, you need an inverter/charger combination unit (not a standalone inverter).
Victron MultiPlus 12/2000/80 ($699) — the gold standard for RV inverter/chargers. 2,000W pure sine wave inverter + 80A battery charger. When connected to shore power, it charges the battery and passes through AC to your outlets simultaneously. When disconnected, it inverts from the battery with seamless switching (<20ms).
For smaller builds: Renogy 2000W Pure Sine Wave Inverter/Charger ($499) handles the same role at lower cost.
Note: If you’re only running 12V loads (fridge, fan, lights) and don’t need 120V AC while boondocking, you can skip the inverter entirely and run 12V directly from the battery. Add an inverter only if you need to run laptops, TVs, or power tools on AC.
The Complete Budget Tiers
Weekend camper build (~$800):
- 2× Renogy 200W panels: $329
- Renogy Rover 40A MPPT: $139
- 1× 100Ah AGM battery (or Renogy LiFePO4 100Ah at $339): $180–$339
- Wiring and connectors: $75 Total: ~$800–$1,000
Full-timer build (~$2,100):
- 3× Renogy 200W panels: $450
- Victron SmartSolar MPPT 100/50: $220
- 2× Battle Born 100Ah LiFePO4: $1,898
- Victron MultiPlus 12/2000/80: $699
- Wiring, breakers, fuses: $150 Total: ~$3,400 (you can reduce cost by using 2× Renogy 200W panels and a Renogy MPPT at ~$2,400 total)
Common Mistakes in RV Solar Builds
Undersizing wire gauge. Solar runs 20–30A through wire on a 12V system. Undersized wire causes voltage drop and fire risk. Use 10 AWG for panel-to-controller runs under 20 feet; 8 AWG for longer runs.
Skipping fuses. Every connection to the battery needs an inline fuse within 18 inches of the battery terminal. No exceptions.
Buying cheap PWM controllers. At 400W+ of panels, the efficiency loss from a PWM controller versus MPPT costs you real charging capacity. The $50 savings on a PWM controller costs more than $50 in reduced daily output.
Overestimating panel production. Panels rated at 200W produce 200W in lab conditions (Standard Test Conditions, direct perpendicular sun, 25°C). On an RV roof with some shading, imperfect angles, and 35°C summer temperatures, expect 160–175W per 200W panel. Build your estimates using 80% of rated wattage.
Getting Started
The Renogy 2× 200W panel + Rover 40A MPPT + 100Ah LiFePO4 combination is where most first-time RV solar builders start and don’t regret. It handles a weekend camping draw comfortably, upgrades easily by adding a second battery or two more panels, and uses components with good support documentation and active community forums.
→ See also: The Complete Off-Grid Solar Power Guide (2026) → See also: Off-Grid Cabin Solar: How to Size and Build Your System