Plastic-Free Food Storage Guide: Glass, Steel and Silicone
Compare glass, steel and silicone for leftovers, lunches, pantry staples and freezing, including lid materials, cleaning and heating limits.
Featured Options Compared in This Guide
Full specs & notes ↓Choosing food storage starts with what happens after you fill it. A lunch you will microwave calls for a different container than a sandwich carried in a backpack. Soup needs room to expand in the freezer; pantry flour needs an opening that accommodates your scoop.
For a kitchen moving away from plastic, glass and stainless steel are useful starting materials. But the body, lid and seal need separate consideration. Silicone bags offer another reusable option, though silicone is a synthetic polymer. Decide whether your goal is to reduce disposable bags, avoid plastic container bodies or exclude synthetic components altogether. Sources: Pyrex materials and care, Stasher materials FAQ.
Match the container to the job
| Storage job | Practical starting choice | Decision that matters |
|---|---|---|
| Leftovers reheated in the same dish | Glass storage approved for microwave use | Follow the lid’s separate heating instructions. |
| Repeated meal prep | Several containers in the capacity you actually use | Count vessels, not just the advertised number of pieces. |
| Frozen soup | Freezer-rated rigid containers or jars made for freezing and canning | Leave headspace for expansion; an ordinary glass jar is not interchangeable. |
| Sandwiches and snacks | A reusable silicone bag, if silicone fits your material preferences | Allow for cleaning the corners and drying the opening. |
| Packed meals eaten cold | A stainless container may suit the job | Decide whether you need a liquid-tight closure or a separate reheating dish. |
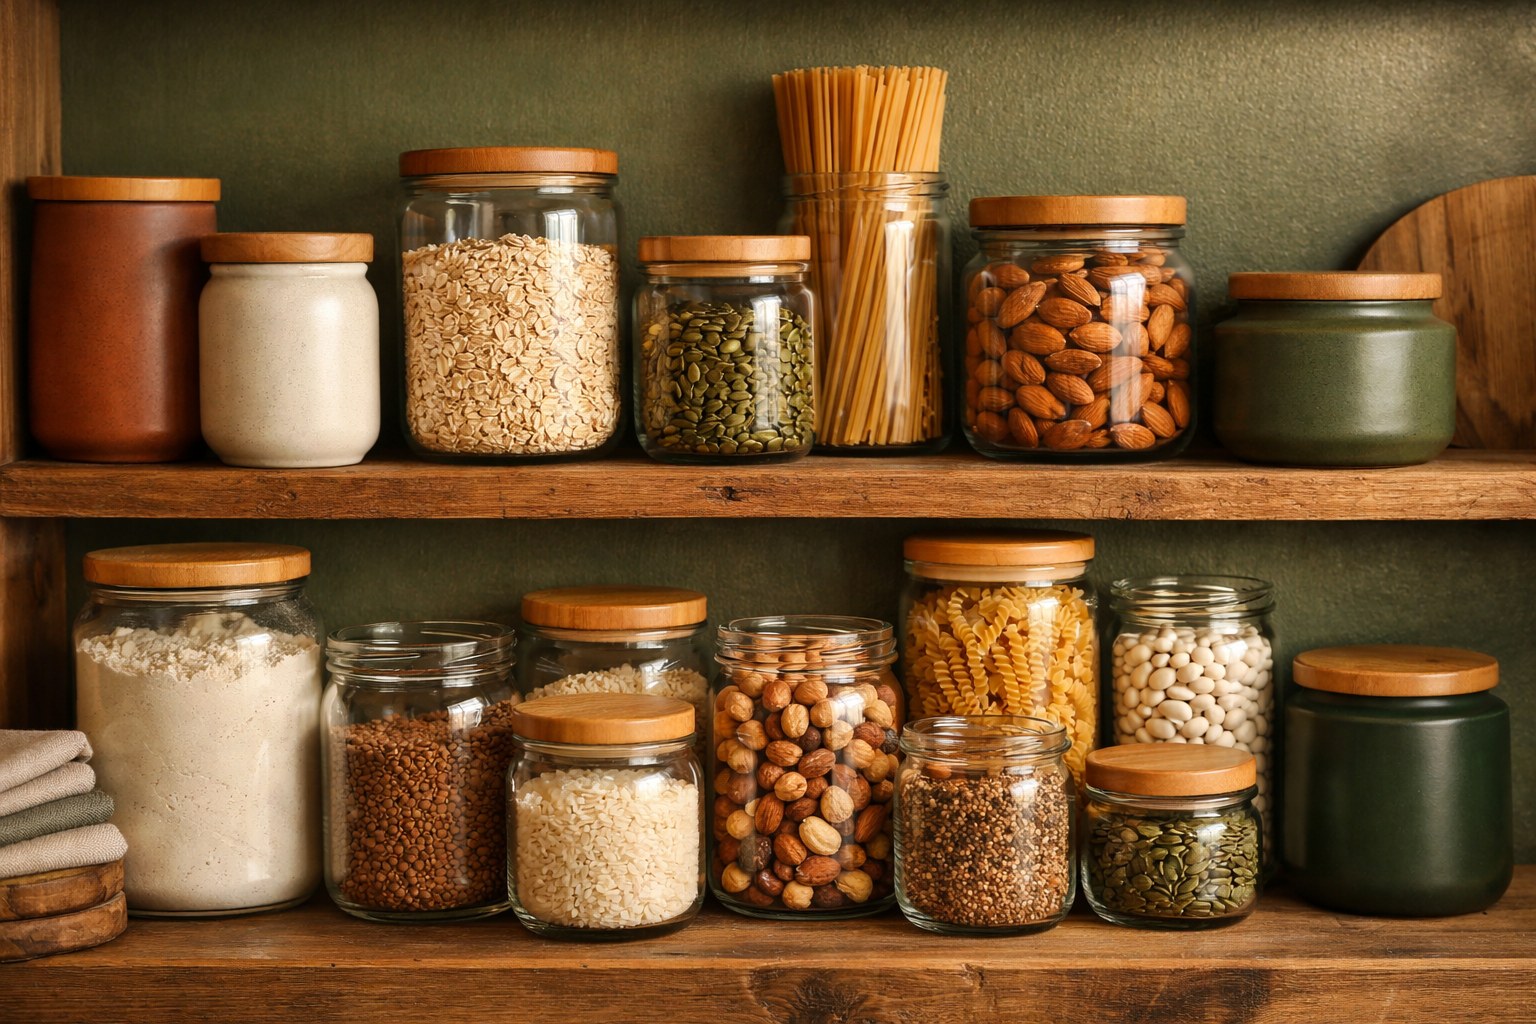
| Pantry staples | A glass or stainless canister sized for your usual purchase | Account for the lid, seal, scoop opening and cupboard space. |
Heating and freezing permissions depend on the particular container. Relevant examples appear in Pyrex’s use instructions, Stasher’s care guidance and the National Center for Home Food Preservation’s freezer-container guidance.
Glass for leftovers: the lid changes the decision
Glass makes sense when you want to see your leftovers and reheat them in their storage dish. Choose a vessel whose instructions cover that use, then establish whether its lid must be removed or vented.
The Pyrex Freshlock 10-piece Meal Prep Glass Storage Set illustrates a buying detail that is easy to miss: it contains five 4-cup glass containers and five lids. Pyrex lists the containers for dishwasher, freezer and microwave use, and describes the locking lids as airtight and leakproof. The manufacturer calls the lids BPA-free but does not identify their material in this set’s description. Their composition is therefore unestablished here, and the assembled set cannot be classified as plastic-free from that description. Source: Pyrex Freshlock set details.
Five matching containers can suit someone packing similar lunches throughout the week. They are less useful if most of your storage consists of small sauce portions and occasional large leftovers. Before buying a set, portion a typical meal into a container you already own and use that capacity as your reference. Compare its footprint with your fridge shelf and lunch bag, too.
Heating permissions have limits
Pyrex’s general glassware instructions allow microwave use and use in preheated conventional or convection ovens. They prohibit moving glass directly from the freezer into a hot oven, and using it in countertop appliances such as air fryers and toaster ovens. The same guidance excludes plastic and wood lids from conventional and convection ovens. These material-specific instructions do not identify the Freshlock set’s lid composition. Source: Pyrex safety and usage.
For lids identified as Pyrex plastic lids, the general instructions specify removing them or leaving a gap of at least ¼ inch before microwaving; any built-in vent should also be opened. Some Snapware instructions on the same page require lid removal instead. Follow the directions supplied for your particular lid and vessel: a microwave-compatible base does not establish how to heat the assembled container. Source: Pyrex and Snapware lid instructions.
Protect glass from impacts and abrupt temperature changes. Pyrex directs users to rest hot glass on a cooling rack, dry potholder or dry cloth, and let it cool before washing, refrigerating or freezing. Stop using pieces with chips, cracks or severe scratches. Source: Pyrex glass care.
Silicone bags for flexible storage
A silicone bag is worth considering when replacing disposable sandwich or snack bags is your main goal. It does not fit a preference to exclude synthetic polymers entirely: Stasher identifies silicone as a manufactured polymer. Source: Stasher materials FAQ.
Stasher says its bags and bowls use platinum food-grade silicone and permits freezer, microwave, dishwasher and oven use, with an oven limit of 425°F / 218°C. For oven cooking, place them on a baking sheet and keep the seal partly open. For microwave use, leave the seal open ¼ inch to vent steam. These instructions apply to Stasher’s bags and bowls; other silicone containers need their own use directions. Sources: Stasher FAQ, care and cleaning.
Cleaning access is a practical difference between a bag and a rigid dish. Stasher recommends a bottle brush for the corners and seal, then drying the bag with its opening spread. Do not turn it inside out: the company warns that this can damage the seal or cause tears. If holding a bag open to clean and dry it is awkward for your daily lunch routine, a rigid container may be the more useful choice. Sources: Stasher cleaning FAQ, drying guidance.
Silicone also needs its own disposal plan. Stasher says most recycling facilities do not accept silicone and offers a TerraCycle return route for damaged Stasher products, with free return labels available in the United States. Do not assume a worn bag belongs in household recycling. Source: Stasher recycling FAQ.
Stainless steel for packed food and pantry storage
Consider a stainless container for meals you intend to eat cold, or when transferring food to a separate reheating dish is acceptable. Its opaque body makes labels or a consistent storage arrangement useful for identifying leftovers.
Do not assume steel storage belongs in the microwave. For example, Pyrex explicitly prohibits microwave use for its stainless steel mixing bowls. Heating, dishwasher and freezer permissions must come from the instructions for the actual container. Source: Pyrex stainless steel care.
For sandwiches, consider whether the food fits without being crushed and whether the closure is manageable. For soup or dressing, choose a closure specifically intended for liquids. A steel body alone does not establish leak resistance or identify the lid and gasket materials.
For pantry storage, compare canister capacity with the amount you normally buy and make sure your scoop fits through the opening. Glass lets you see how much flour or oats remains. With steel, label the contents and date rather than relying on a view through the container.
BPA-free does not establish plastic-free construction. OXO describes its 5-Piece POP set as BPA-free, airtight, stackable and dishwasher safe. Those features may matter for pantry organization, but its description does not identify a glass body or establish that the set is plastic-free. Source: OXO POP set description.
Freezer storage: jar design and headspace matter
An empty food jar is not automatically a freezer container. The National Center for Home Food Preservation warns that ordinary glass jars can break at freezer temperatures and recommends wide-mouth jars made for both canning and freezing. Straight sides help with removing frozen food; narrow-neck canning jars need extra headspace because expanding food can break the neck. Source: NCHFP containers for freezing.
For soup, use portions that match how much you will reheat. NCHFP recommends rigid containers with an airtight seal and cautions against containers so large that their contents freeze slowly. Its soup-specific headspace guidance is:
- Mostly solid soup: leave at least ½ inch.
- Mostly liquid soup: leave at least 1½ inches.
These amounts apply to soup, not every frozen food. NCHFP recommends cooling soup quickly by placing its cooking pot in an ice-water bath, then packaging and freezing promptly. Do not put hot glass into ice water or the freezer. Use a pot suitable for that cooling method before transferring cooled soup into glass storage. Source: NCHFP freezing soup.
Freezer compatibility does not imply permission to move frozen glass directly into a hot oven. Plan how you will remove and reheat each portion before filling the container. Source: Pyrex temperature-change warnings.
Small portions for baby food
For baby food, choose containers that make it easy to separate a serving from the stored batch. FDA advises putting a portion into a separate dish, refrigerating the untouched remainder and discarding uneaten food from the serving dish. Feeding directly from the storage jar can introduce saliva into the remaining food. Source: FDA baby-food handling guidance.
FDA advises heating baby-food meats, meat sticks and eggs on the stovetop rather than in the microwave because they can splatter and overheat. Transfer them to cookware intended for stovetop use. Source: FDA baby-food heating precautions.
For other baby foods you microwave, FDA advises moving the food from its jar into a dish suitable for microwaving. After heating, stir thoroughly, wait 30 seconds, and taste-test the temperature before feeding; it should be lukewarm. The temperature near a glass jar’s sides can be misleading because the center may be hotter. Source: FDA reheating guidance.
Build around your actual storage routine
Start with the job your current containers handle poorly: reheating lunch, carrying snacks, freezing soup or accessing bulk dry goods. Buy enough of the appropriate size for that routine and your washing schedule, then expand when another need becomes clear.
Before choosing a set, compare the number of usable vessels, the capacities you need and whether replacement lids are available for that exact model. Price per advertised piece can be misleading when the count includes lids or sizes you will rarely use.
For a strict plastic-free goal, consider the body, lid, gasket and any interior coating separately. Where a component’s material is unspecified, leave its status unresolved. If your goal is reducing disposable storage, a reusable option with some synthetic components may still fit your plans.
For storage beyond containers, see the zero-waste kitchen storage guide.
Sources
Products Compared in This Guide
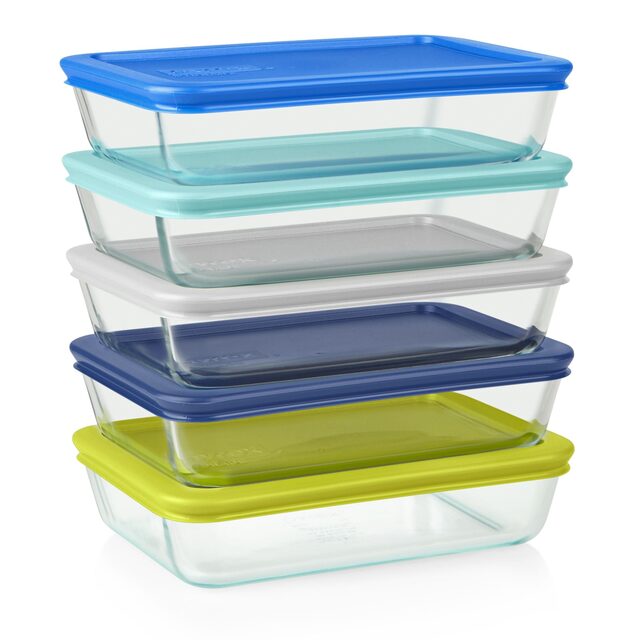
Pyrex Glass Storage Set (10-piece)
The kitchen standard. Tempered glass, snap-lock lids, oven-safe to 450°F. Goes from oven to table to fridge to dishwasher. The lids are the weak point over time—they crack before the glass does.
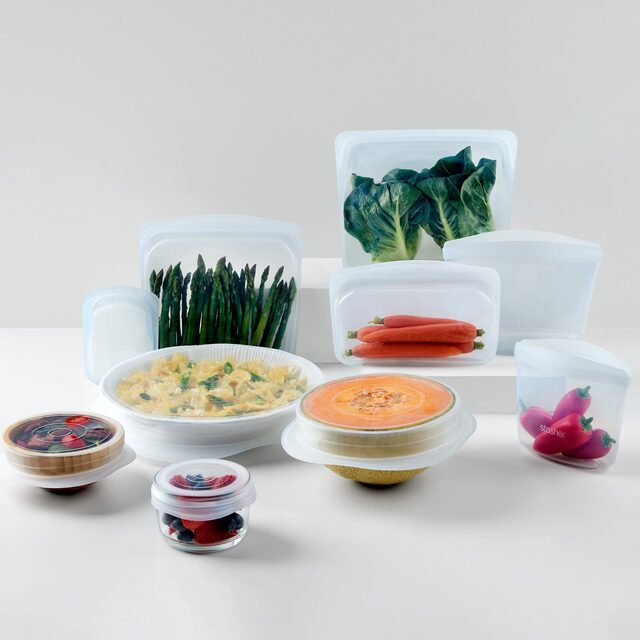
Stasher Reusable Silicone Bags (Starter Set)
The best-known brand of silicone food bags. Food-grade platinum silicone, pinch-seal closure. Comes in sandwich, half-gallon, and snack sizes. Dishwasher top-rack, freezer-safe, sous-vide-safe.
Stainless Steel Food Storage Containers (3-piece)
Airtight locking lids, no rust, no leaching, no odor retention. Not microwave-safe or transparent—you have to open it to see what's inside. Best for lunch boxes and dry goods, not for leftover casseroles.
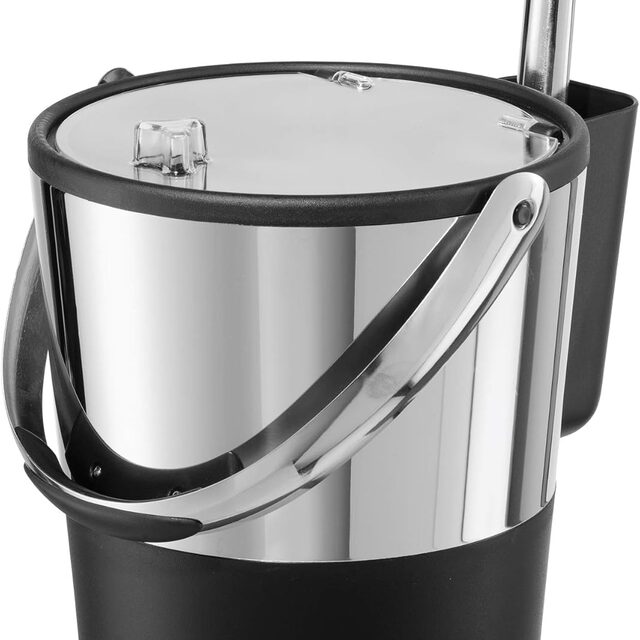
OXO Good Grips POP Containers (Glass, 5-piece)
The push-button airtight mechanism works better than most lid systems for pantry storage. Glass body, BPA-free button lid. Good for flour, sugar, oats, coffee—anything you scoop from regularly.